Before we start, I should say that this is a heavily delayed post, sitting in my queue for a few months now. The overall process to install the server on virtual machine and configure it for Drupal development is still valid and you only need to change the OS version from Ubuntu Server 14.04 to the latest one now (Ubuntu Server 14.10 at this time). Also, I have moved on to using vagrant for my setups and will hopefully write a post on that soon. I think this post will still serve some value if you are looking at setting up a virtual machine (or even a physical machine) from scratch.
A bit of history first. I bought a new laptop in November 2013 and decided not to run Linux on that. I was using Ubuntu on my previous machine for all my development work but I had a lot of problems with Chrome eating up all the memory, even for a few tabs. Comparatively, Chrome on Windows ran fine with a lot more tabs. I tried a few things but never solved the problem. The only workaround that worked for a while was using an extension called The Great Suspender. When I got my new machine, I just decided to stick to Windows and run Ubuntu Server in a VM inside VirtualBox. Here is a complete list of steps to set up a machine.
Tools on Windows

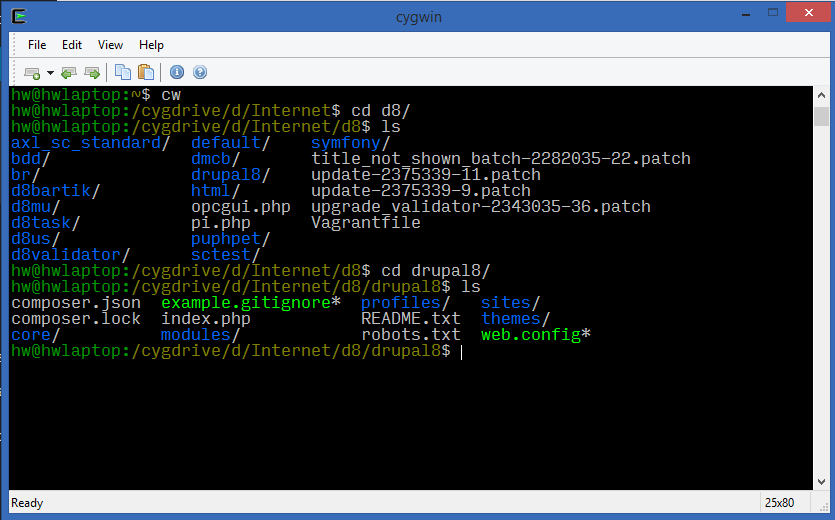
Download VirtualBox, Console2 and cygwin and set them up. VirtualBox and Console2 are simple and you would install them just like any other Windows program. Cygwin is a little bit more complicated. Follow the instructions in cygwin installation section to get started. Note: Console2 and cygwin are not strictly required but highly recommended. Console2 gives you a nice terminal interface with tabs and cygwin lets you directly use ssh and other Unix commands right from Windows. It is very convenient.
Ubuntu Server
Create a new Virtual Machine and install Ubuntu Server 14.04 on it. I have written a separate post which shows the steps to configure the virtual machine and install Ubuntu Server in detail. Once installed and configured, you can proceed with the next steps here.
Samba
First, we need a way to share our files. The model we will use is to store all the files in the virtual machine and access them in Windows via shares. This, of course, means that we can’t access the files if the virtual machine is not running. This is inconvenient but it is the faster option. NOTE: With the vagrant setup, we avoid this but run into the performance problem. More about this in my post on a vagrant setup.
To make the files in the virtual machine accessible to Windows, we need to install samba server. The guide helps you along but basically you just run this command.
sudo apt-get install samba
Next, configure samba by editing /etc/samba/smb.conf. There are more examples in the guide and in another community post. These are the settings in my smb.conf.
From above, the option ‘force user’ and ‘force group’ are particularly important. This makes sure that the files you create from Windows get the right user/group and permissions as well.
ssh-agent
If you are using public-private key authentication, as you should, and you have encrypted your keys, you would be asked for password everytime you connect to the machine. You just need to install ssh-agent to fix this. Follow the steps in this Stackoverflow answer and this blog post to enable ssh-agent in cygwin.
Adding more partitions
As a best practice, I mounted my document root (/var/www) on a different virtual drive. This way, you can reuse the same virtual disk on another system if you wanted to try something out. There is a detailed guide on how to set this up by creating a new virtual disk in VirtualBox and then configuring it in Ubuntu.
Other configuration on the Windows host
In some cases, the virtual machine cannot access Internet. Run the command below in your Windows host to modify VirtualBox settings. Replace “VM Name” with the actual virtual machine name.
VBoxManage modifyvm "VM name" --natdnshostresolver1 on
For nicer colors in the console, see this post. This has to be done only once, not for both cygwin’s bash and after ssh. It basically changes the palette for 16 color codes used in the terminal.
Other configuration in the virtual machine
Set UseDNS to no in sshd_config in the virtual machine for quicker ssh when logging in to your virtual machine. The setting basically disables reverse lookup of the client. There is more information in this StackExchange answer and this article.
Setup drush, php, etc… in the Ubuntu Server (virtual machine). Install packages like php5-gd, php5-apcu, php5-mysqlnd, php5-memcache, php5-gd, php5-curl, php5-xdebug. For drush, follow the instructions at the drush documentation pages.
sudo apt-get install php5-gd, php5-apcu, php5-mysqlnd, php5-memcache, php5-gd, php5-curl, php5-xdebug
Enable rewrite module for Apache. Without this, the .htaccess rewrites might work but might cause weird errors, such as File not found 404 error for virtual paths.
sudo a2enmod rewrite
If you want to access the MySQL server in the virtual machine from tools like MySQL Workbench or similar tools, give access to root (or other user) with GRANT PRIVILEGES and comment out bind-address setting in /etc/mysql/my.cnf. Replace ‘password’ with the actual password you would like. More details in this answer. The SQL for GRANT PRIVILEGES statement looks like this:
GRANT ALL PRIVILEGES ON *.* TO root@'%' IDENTIFIED BY 'password';
Set up a ~/.my.cnf file to store your mysql users and passwords for various commands. This is great to access commands like mysqldump and mysqladmin from the command line without worrying about the username and password all the time. This is what the file should look like:
Conclusion
You should have a decent machine for Drupal development, or regular PHP development by now. There are more steps, of course, like installing composer but I think that could be subject of a different post. Like I mentioned earlier, I have moved on to using vagrant and this post is mainly for reference. I will be writing a post on that soon. Follow me on twitter for updates and subscribe to RSS for staying updated.
