This guide will explain how to install Ubuntu Server 14.04 on a VirtualBox virtual machine in a detailed step-by-step manner, with screenshots. It is intended as a companion guide to my post on setting up a Drupal development machine on Windows with Ubuntu Server in a virtual machine. I broke it apart mainly due to length and clarity.
Download VirtualBox and install it. VirtualBox is simple to install and you would install them just like any other Windows program. Download Ubuntu Server and keep the ISO file handy. Follow the screenshots below. The screenshots below, and the title of this blog post says Ubuntu Server 14.04, but it should be mostly similar for later versions as well.
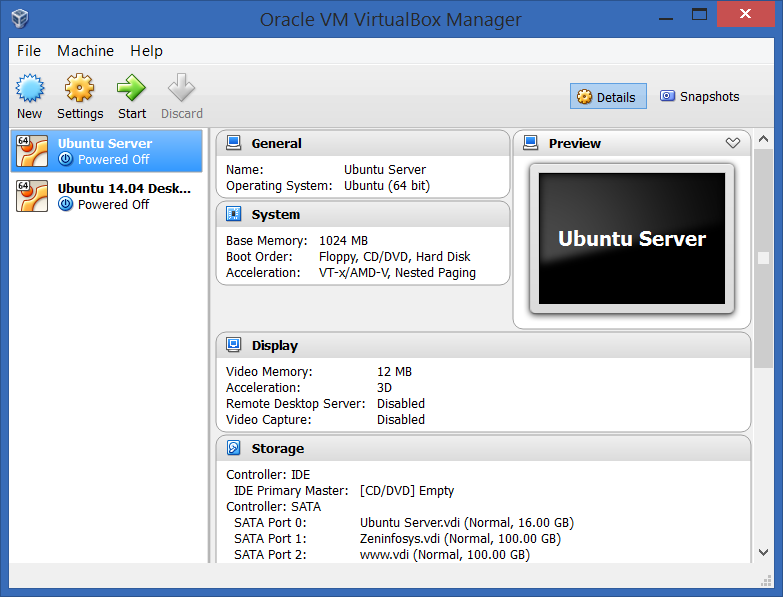
Start VirtualBox. You should be greeted with an interface like above. You might not have any virtual machines listed on the left side.
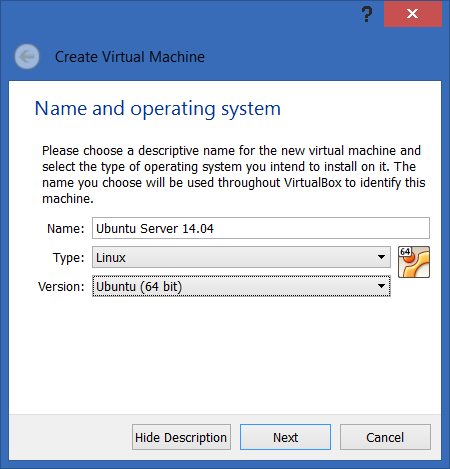
Click on New to start creating your new virtual machine. Give a name like Ubuntu Server and select Type as Linux and Version as Ubuntu (64 bit). Click Next.
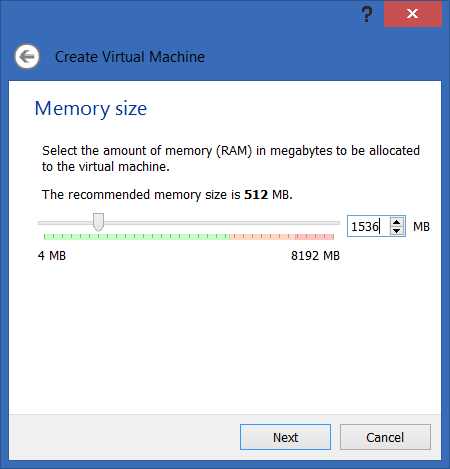
Select the amount of RAM. I selected 1.5 GB RAM but yours may vary depending on your needs and your machine. I would recommend at least 768 MB.
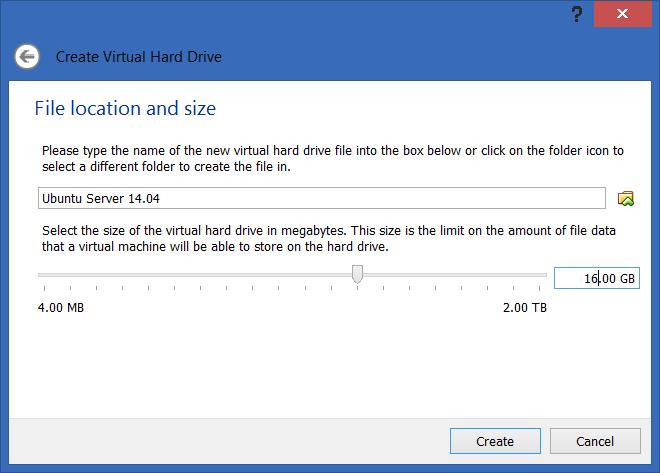
It’s time to set the hard disk size. Around 16 GB is enough as this is just for the OS and tools. I typically create new virtual disks for the web files and database.
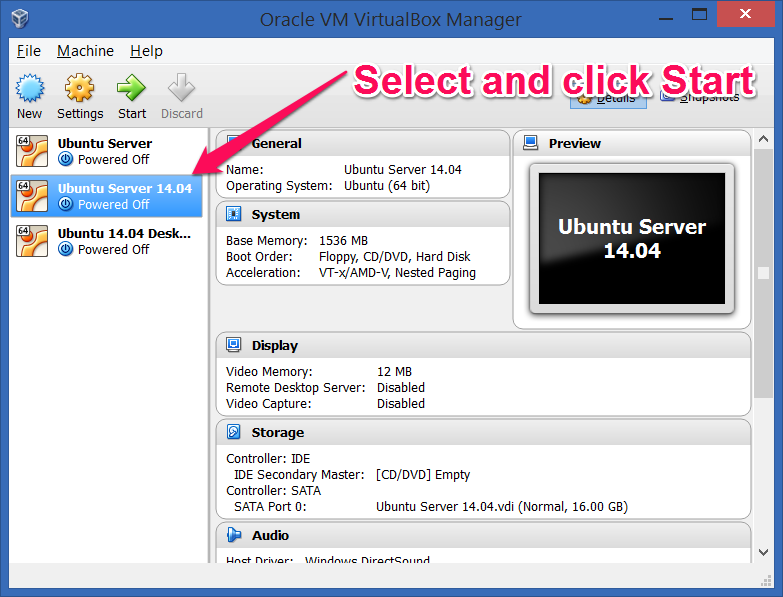
Your virtual machine is done. Select the machine in the list and click Start.
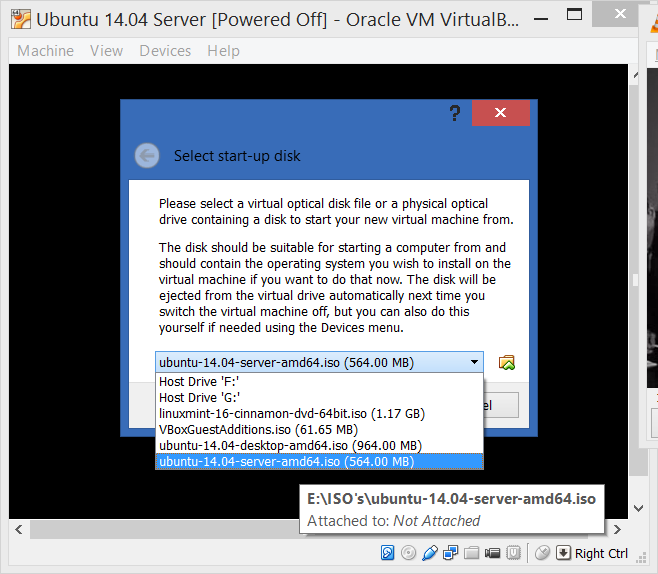
On first start, VirtualBox will ask you to mount an image for installation media. Click on the Browse icon on the right side to select the Ubuntu Server ISO file you downloaded.

Ubuntu Server Installation first asks for the language. Pick your language. The rest of the screenshots are using English.
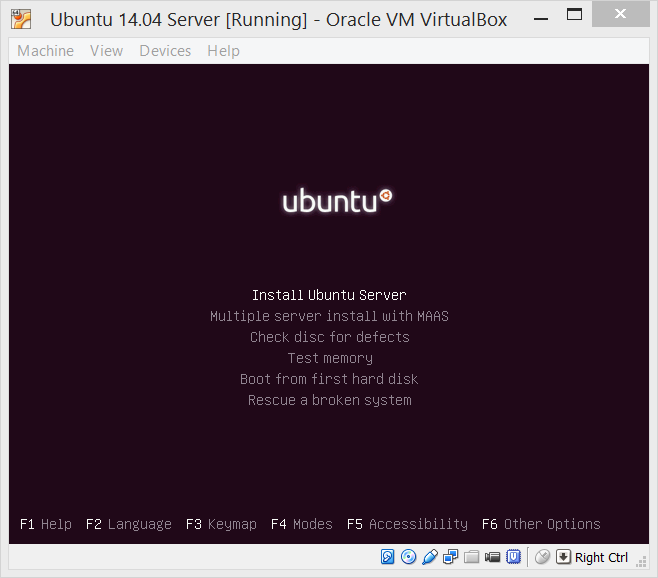
You come to the familiar Ubuntu Server installation screen. Select Install Ubuntu to continue the installation.
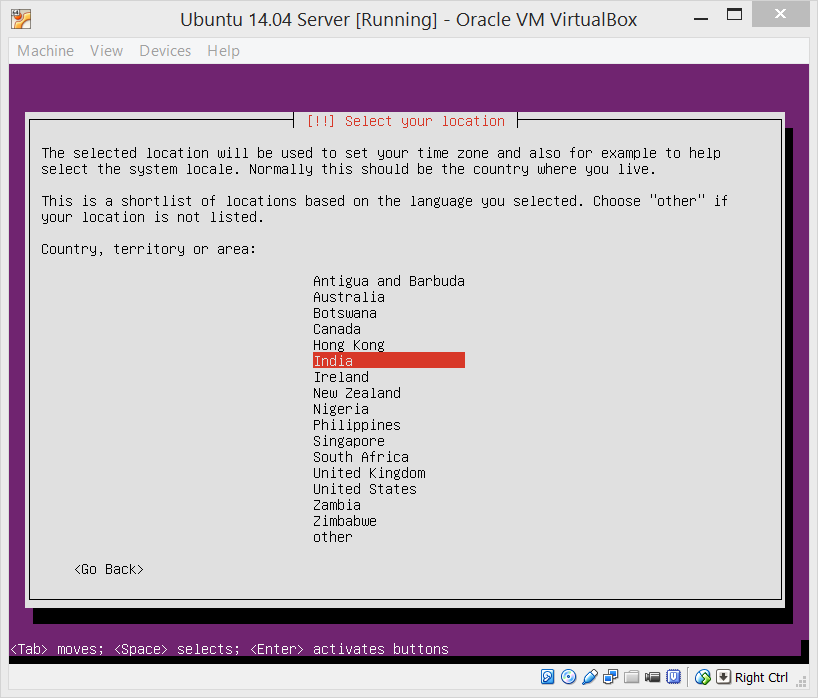
Select your country. I picked India.
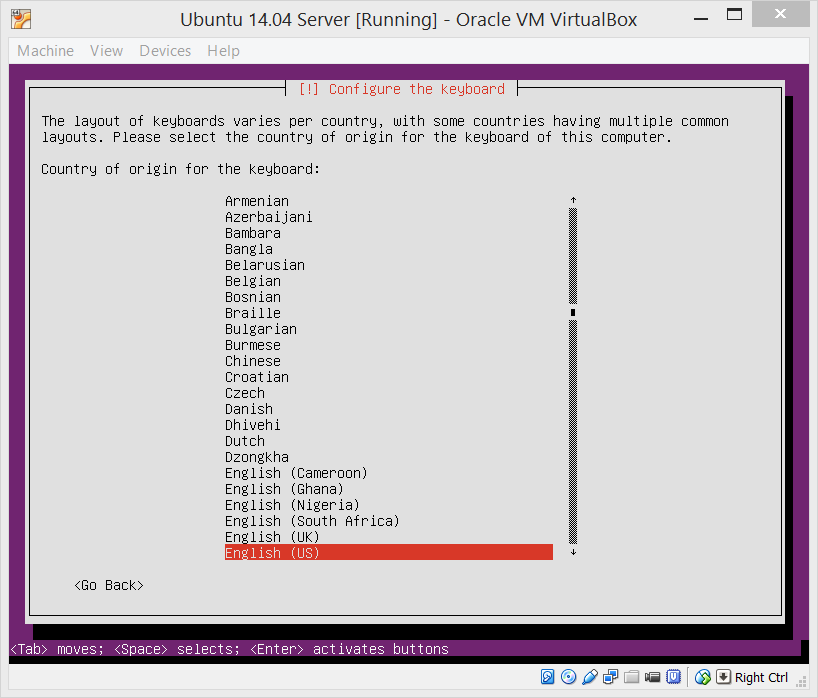
And keyboard layout. In most cases, you will pick English (US).
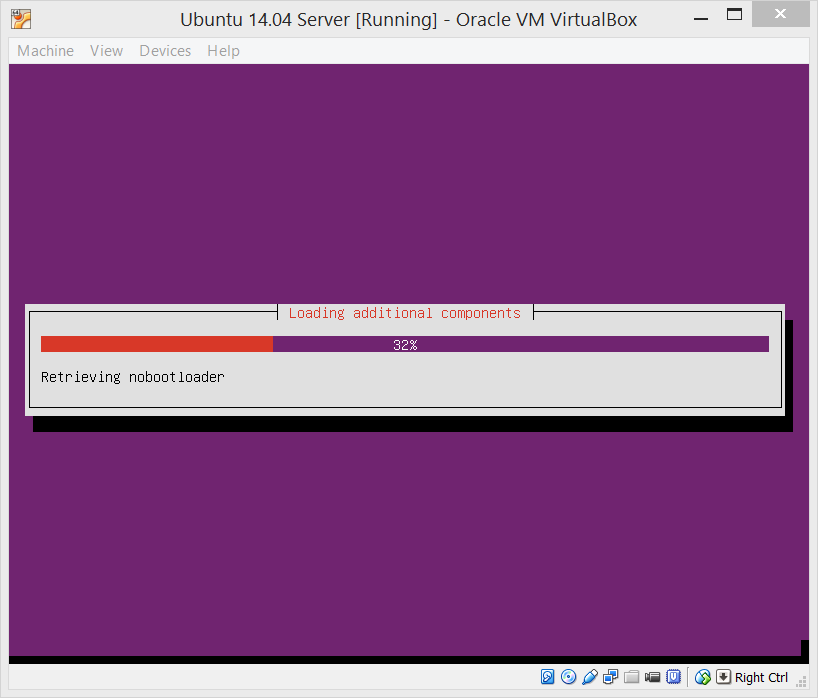
It will load additional components. Wait for it to complete.

This is an important step. Type in the hostname with which you would access this machine later. I have typed in hwvmsrv, with vm indicating that this is a virtual machine on the network.
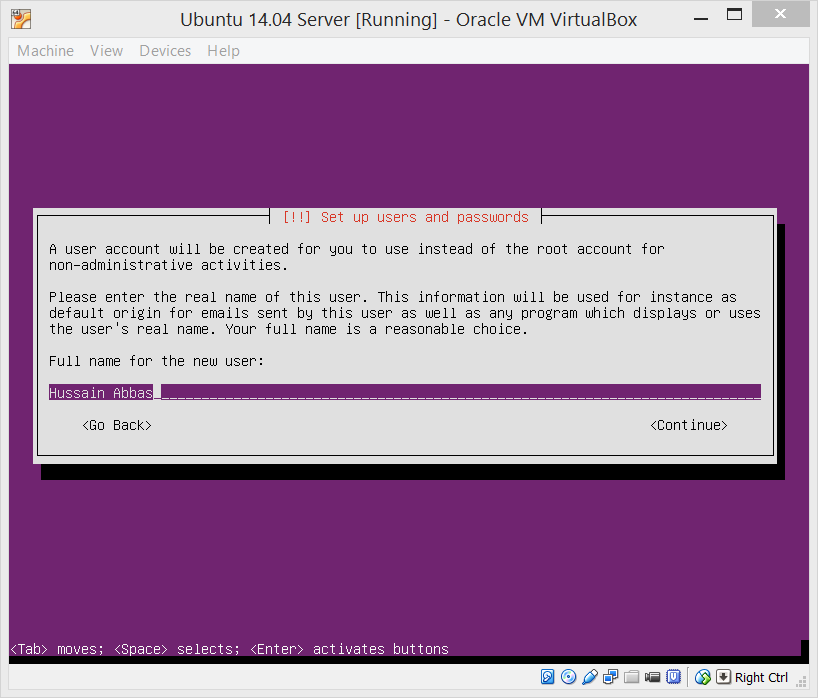
Type in your real name.
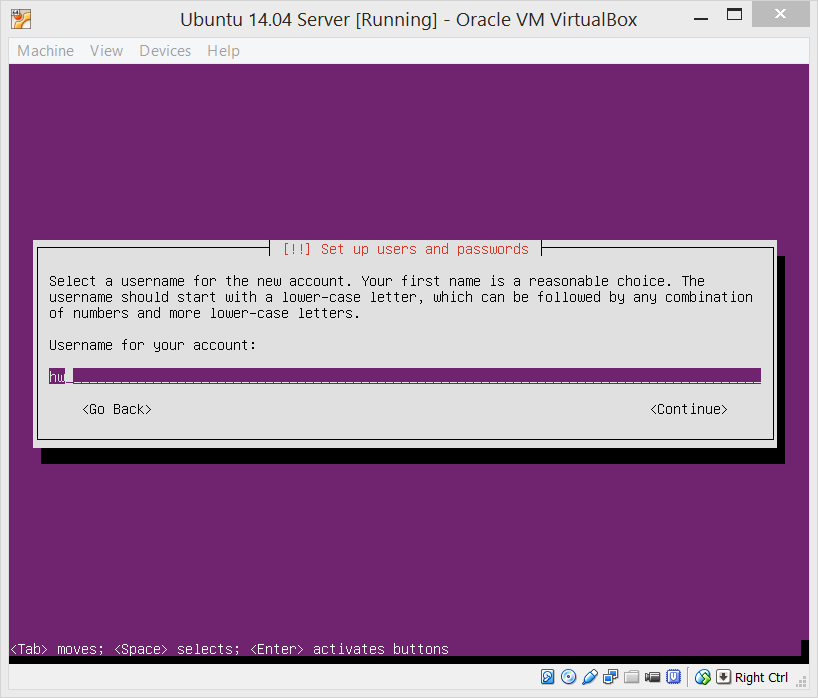
And your username. This is what you will use to login to your virtual machine. I keep it very short, such as just hw.
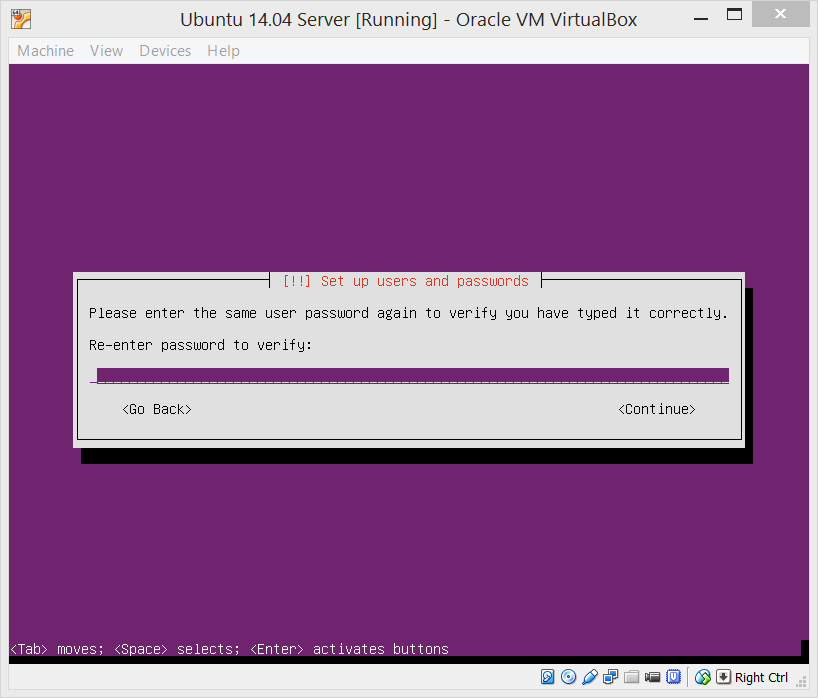
Finally, type in the password you want.
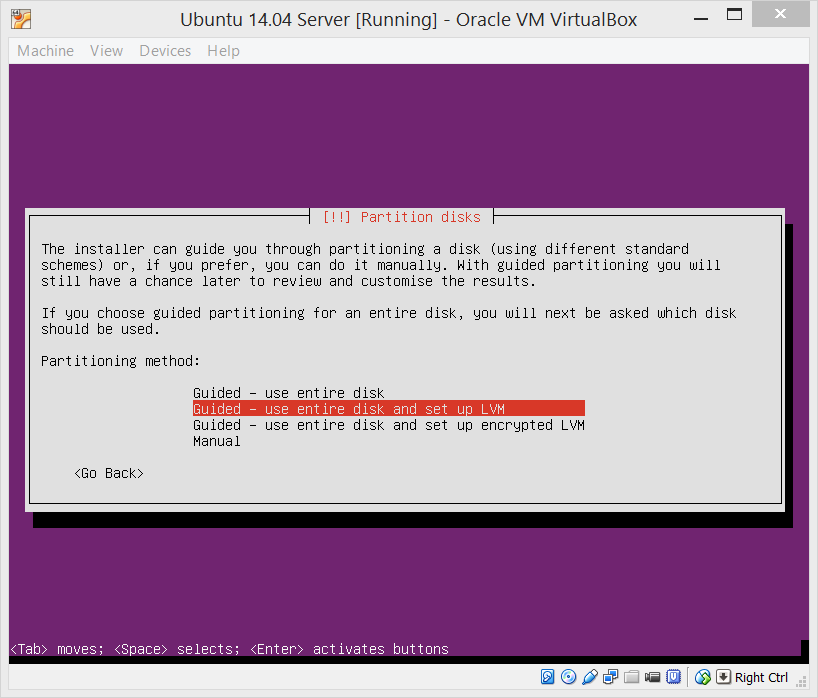
Ubuntu can guide you in setting up the partitions as you want. However, since this is a virtual machine, you typically want to use entire disk and have it setup LVM.
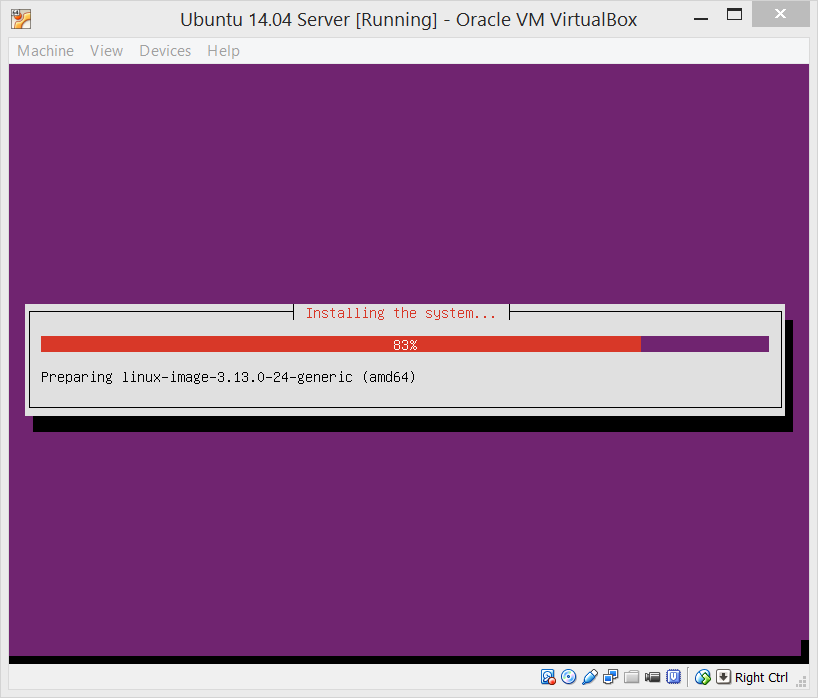
It will actually install the system now. Wait for it to complete.
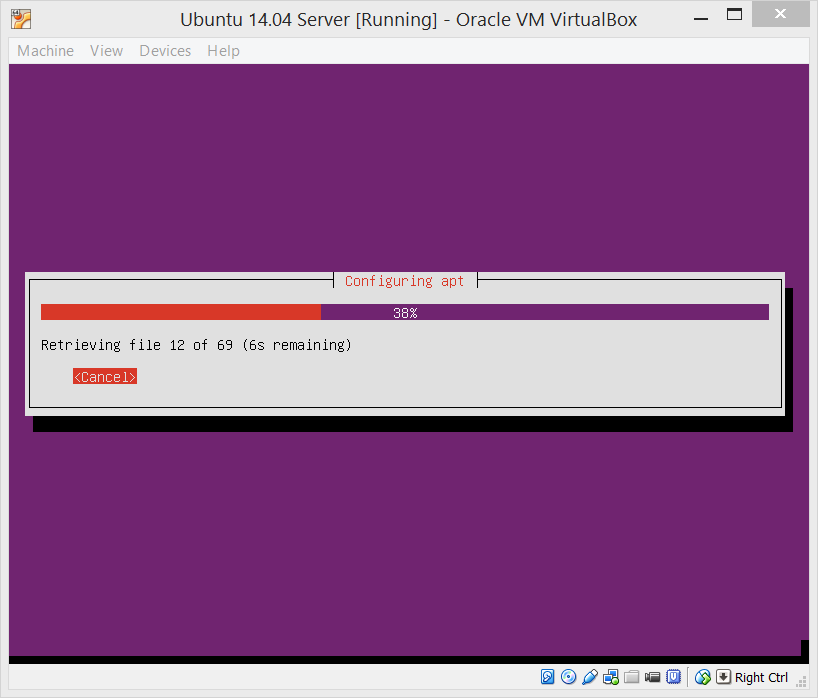
It will also configure the package manager. Before this, you will get a chance to configure proxy settings for your network. If you are not using a proxy, you can skip those steps.
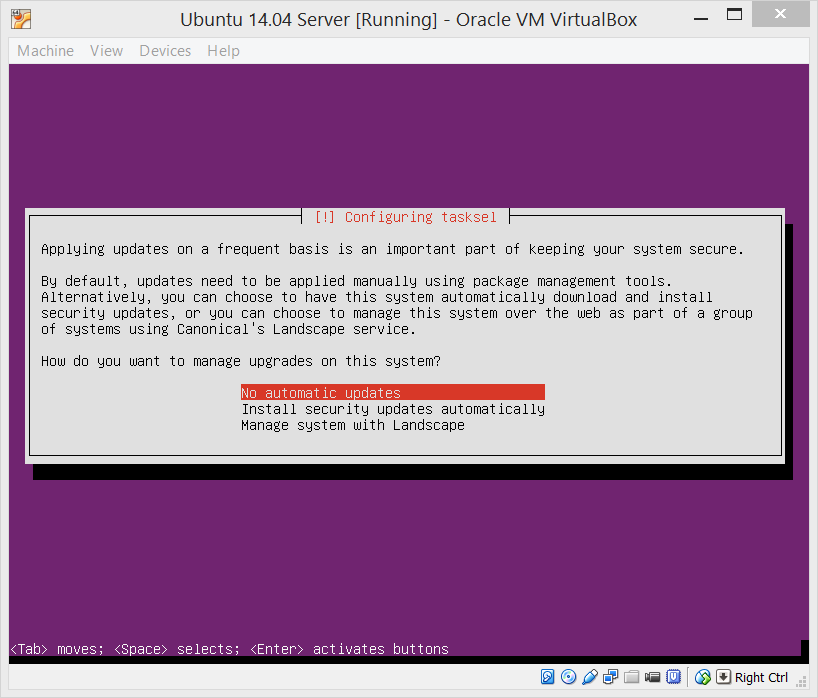
Configure updates as per your preference. I prefer installing updates manually.
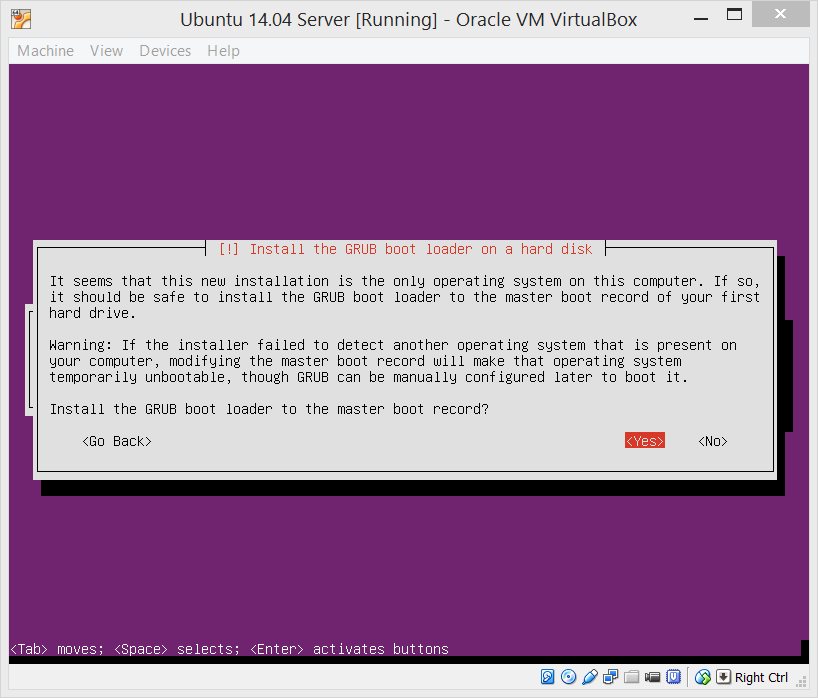
You should say Yes to this prompt, unless you know what you are doing.
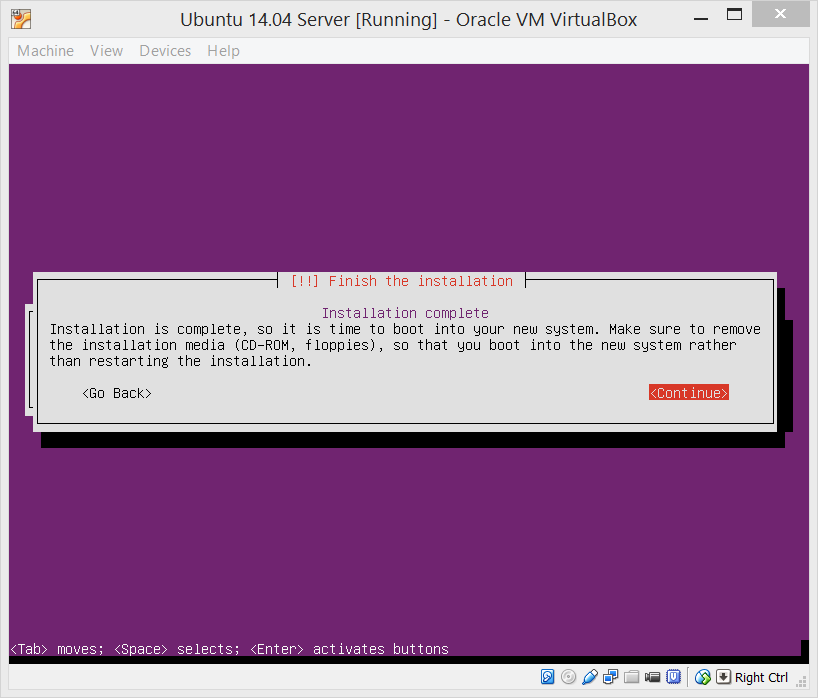
You are done. Ubuntu is now installed on your virtual machine. Eject the ISO and select Continue to restart the virtual machine.
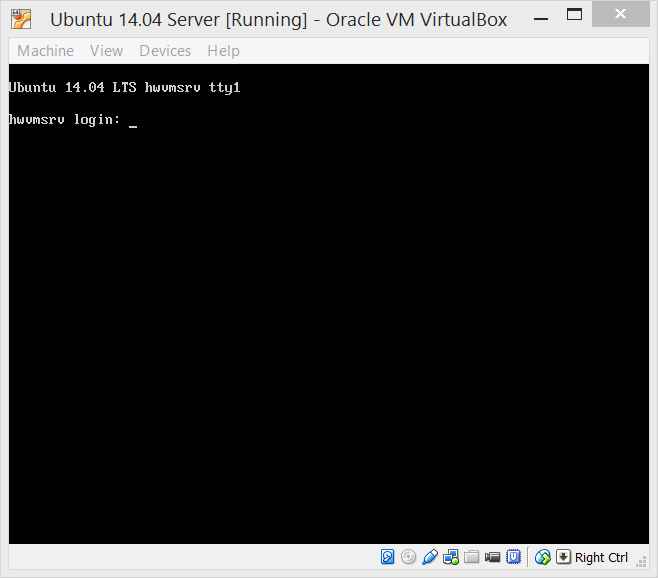
After restarting, you will get a prompt to login. Use your username and password to login.
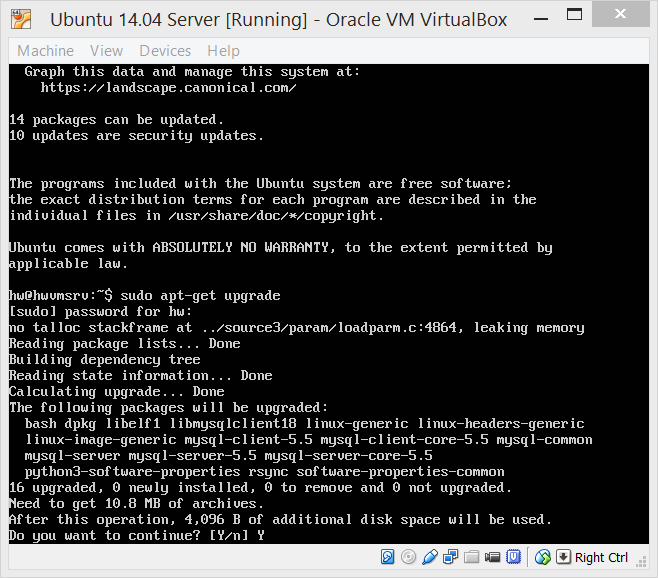
Run sudo apt-get upgrade to make sure you get all the upgrades. Usually, there won’t be a lot unless the ISO is quite old.
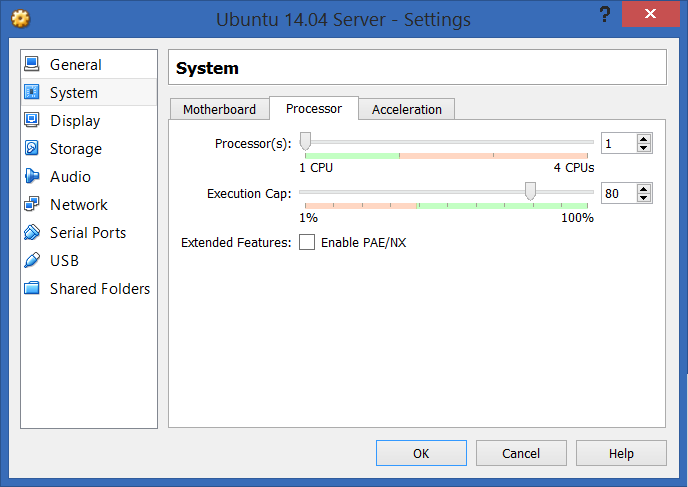
The machine is ready and installed now. But let’s configure the virtual machine. I typically set an execution cap to 80% to make sure the virtual machine does not overload the host machine.
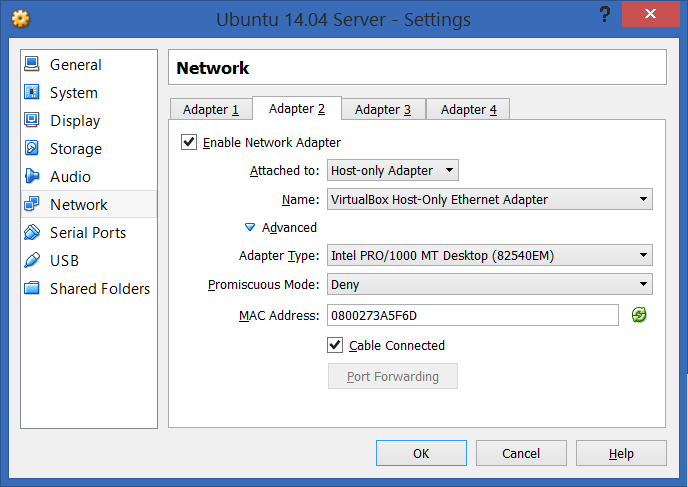
Add a second adapter to the virtual machine by right clicking the virtual machine, and selecting Settings. In the settings window, select Network and go to Adapter 2 tab as shown in the screenshot. Select Host-only adapter and other settings as shown in the screenshot (most are defaults).

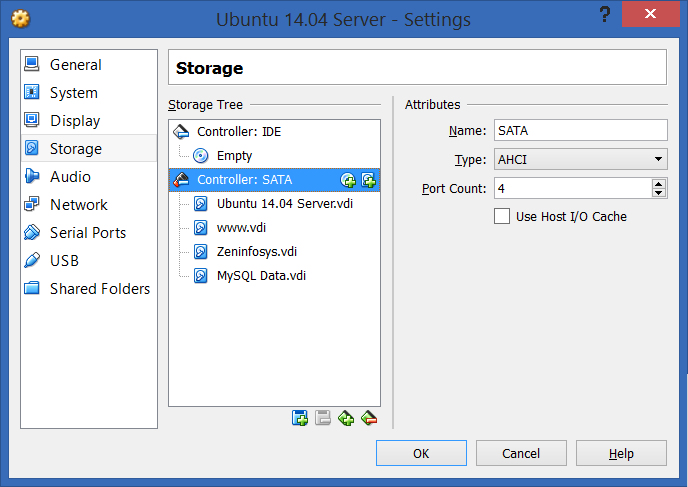
We’ll store our website files and database on a new virtual disk. In the settings window, go to Storage and right click on SATA controller. Select Add Hard disk from the menu. Click on Create new disk from the popup window. Follow the instructions to create a new disk. I typically select a dynamic disk of 100 GB.
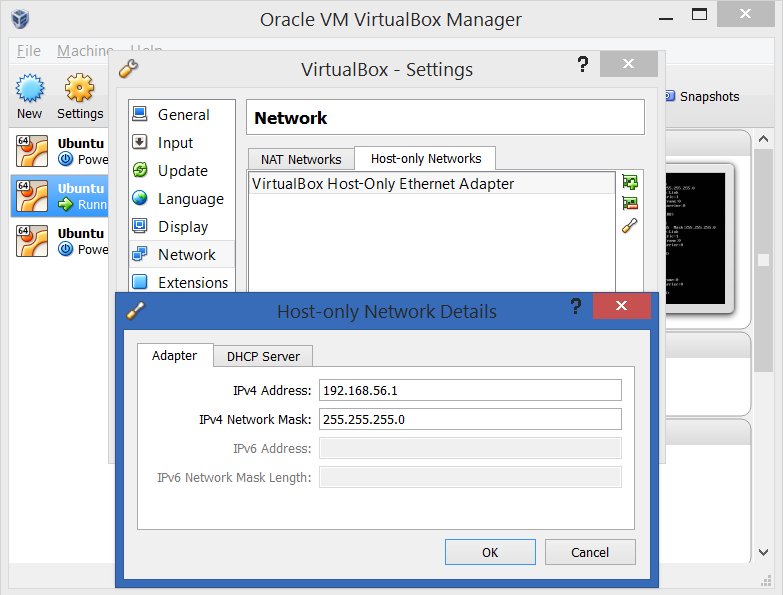
You can optionally setup more networking parameters. You can set the host machine IP and all virtual machines will fall in the same subnet. You can access this dialog from VirtualBox main window and selecting Preferences under File menu and then selecting Network in left side.
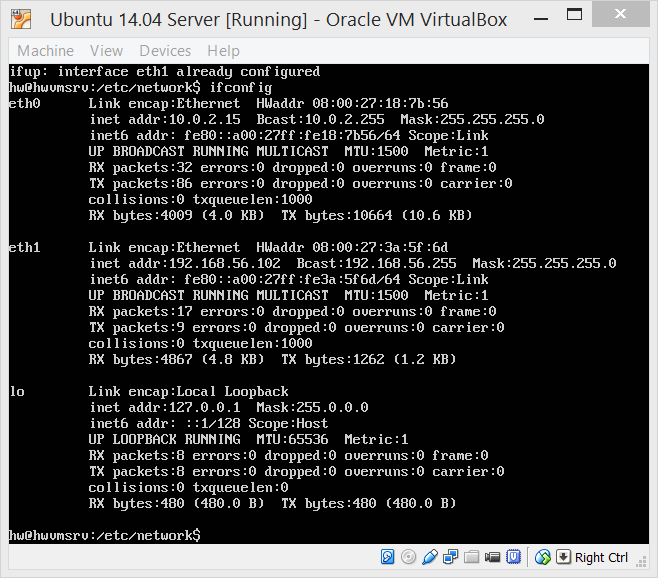
Add eth1 in /etc/network/interfaces for Host only adapter (Ubuntu Server doesn’t add it). This is necessary to configure the second adapter we added to the virtual machine. You can look up examples by a simple Google search, such as this one.
This builds a simple machine ready for use. We will configure it further for Drupal development in another post.