I recently wrote about trying out Ubuntu 16.04 desktop on my other blog. I don’t really use Ubuntu on my laptop but I like to keep up with updates. However, I do use Ubuntu on a couple of my servers and I thought of upgrading on one of them. I was already using PHP 7 for the application there and I figured that would be the easiest one to get started. Well, it didn’t work out but it was a nice learning experience.
First things first – backup
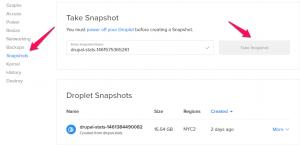
The server I was upgrading is on DigitalOcean set up using it’s own image for Ubuntu 14.04 x64. I decided to follow DigitalOcean’s own documentation for the most part. I could have taken a backup, of course, but I thought of cloning the instance and trying it out there. There is no option to directly clone droplets, but you can do it another way. All you need is to create a snapshot of the droplet you want to clone, and create a new droplet built from the snapshot. Beware, you need to power down the droplet to be able to take a snapshot, and snapshotting takes a long time (it took about 45 mins for me).
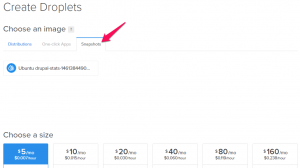
Once the snapshot is complete, create a new droplet and select the snapshot you just created (by the way, you can start your original droplet now if you wish). Your new droplet should be a clone of your old one and ready for the update.
Updating to Ubuntu 16.04
I found an article on DigitalOcean that walks through most of the update but I found it a bit confusing in a couple of places. Start the update by making sure all packages are updated:
$ sudo apt-get update

...

$ sudo apt-get upgrade

...

$ sudo apt-get dist-upgrade
This updates all package information and installs them. Just answer yes to all prompts. Once this is done, we can proceed to actually upgrading to Ubuntu 16.04. Also it goes without saying but note that you don’t need sudo if you are logged in as root.
$ sudo do-release-upgrade -d
If you get an error like command not found, run this command and try again:
$ sudo apt-get install update-manager-core

...

$ sudo do-release-upgrade -d
You need the -d flag to upgrade to Ubuntu 16.04. Otherwise, it will just say No new release found, which is misleading. By default, do-release-upgrade will only upgrade to the first point release which would be 16.04.1 and that is not out yet as of this writing. Until that is out, you need to use the -d option to upgrade.
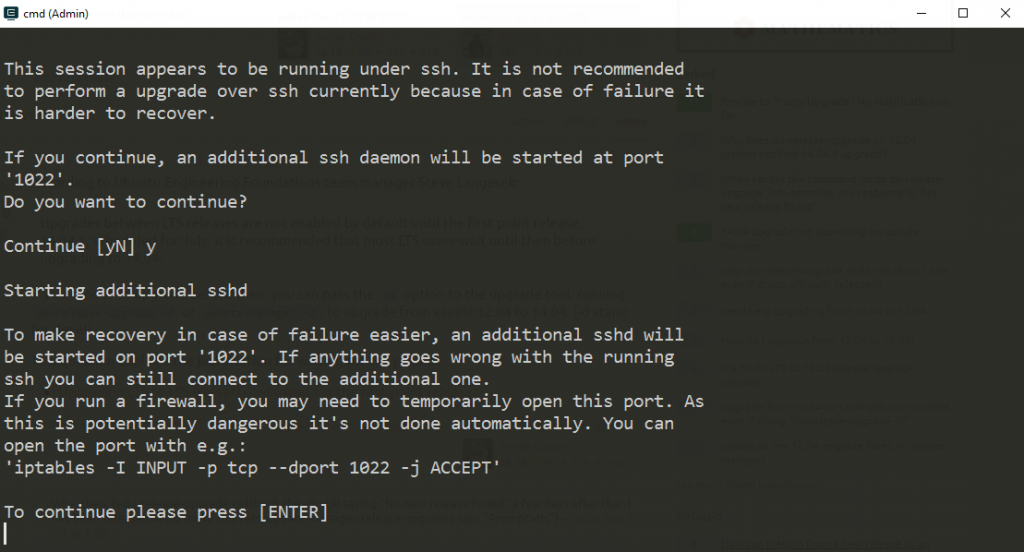
If you are running this on DigitalOcean or any other provider via SSH, you will get a warning like above saying that it is not safe to run this upgrade over SSH. DigitalOcean claims that it is completely safe and I did not have any problems. Press Enter to continue with the upgrade.
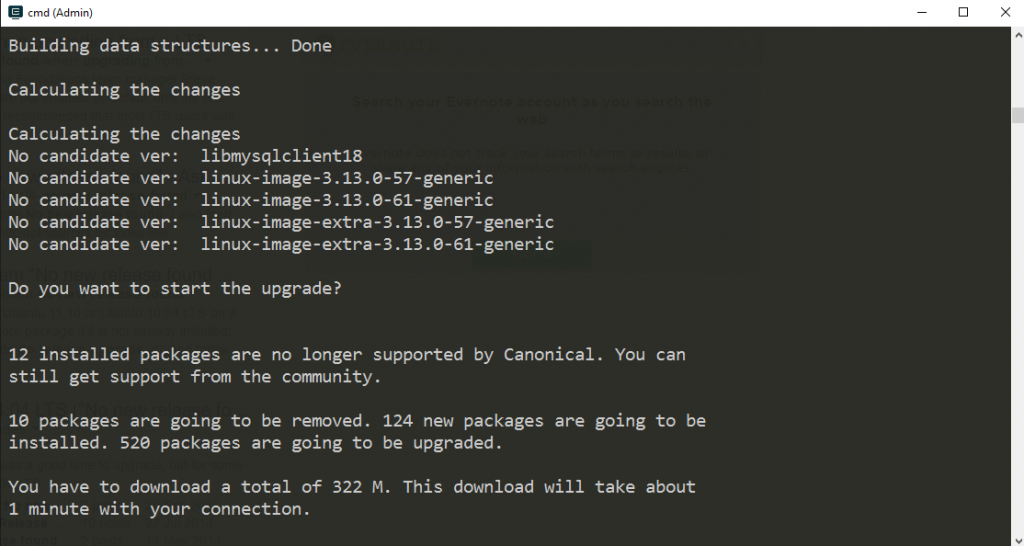
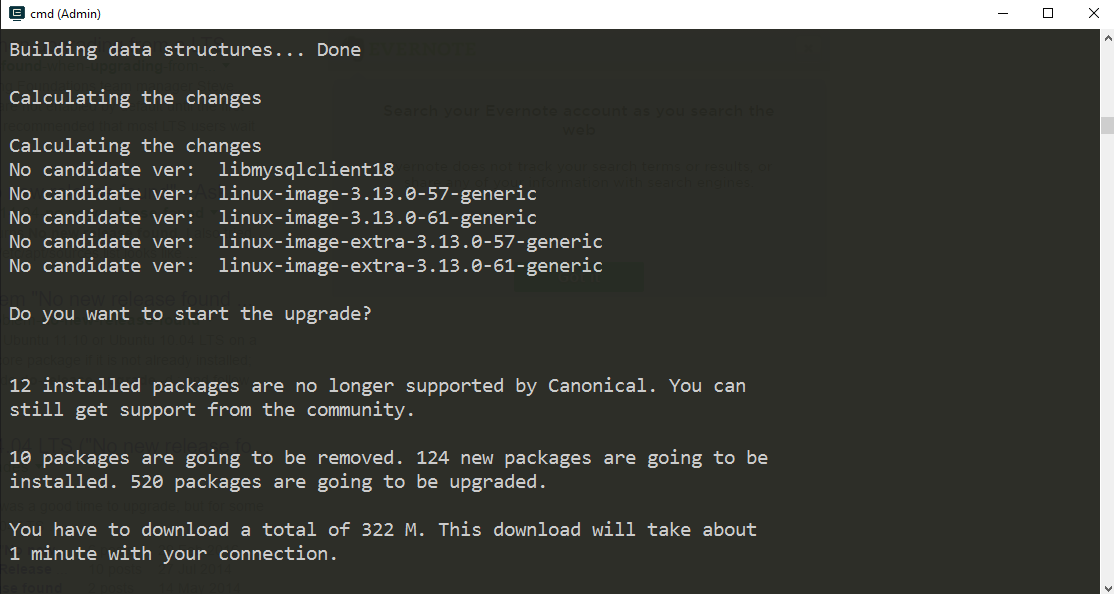
It will ask you that it needs to download new packages and give you information on amount of data to download and time it might take. Enter ‘y’ to continue.
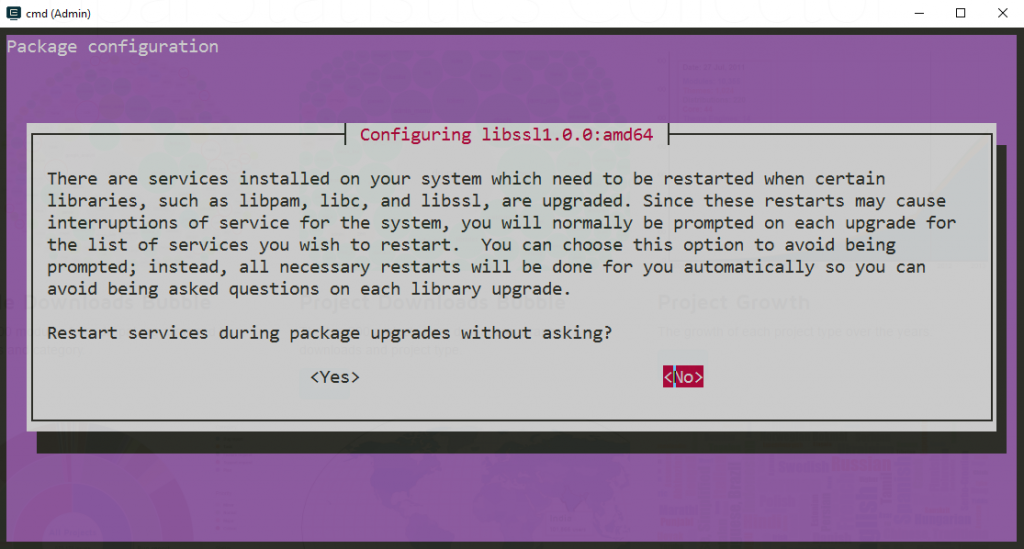
During installation, the system may also give you a prompt like above asking if it is okay to restart all services without asking. You can just answer yes to this as well. If you say no here, it will still upgrade but just ask you before restarting each service.
After upgrade
It will eventually ask for a restart at the end of the upgrade. Restart and start using your Ubuntu 16.04 server. It was time to test my applications. Like I said earlier, my application already worked on PHP 7 and it still worked fine after the upgrade. However, MongoDB stopped working. Launchpad (Ubuntu’s repository) only hosts MongoDB 2.6 and I used MongoDB’s own repository to get the version 3.2. As of this writing, they do not have a release for Xenial Xerus but I see an issue for this.
PHP 7 comes with a lot of performance improvements, especially in memory management. With a LTS release of Ubuntu coming with PHP 7 preinstalled, it means that applications will start getting onboard PHP 7 faster and PHP 5 will get less and less important, as it should. My application was already using PHP 7 and I doubt if there are going to be any other performance benefits out of the box, I am excited about Ubuntu setting a new standard for the minimum PHP version.
