Recently (well, a long time back), I wrote about setting up a Linux based development environment on Windows using Ubuntu and VirtualBox. By the time I had finished writing that post, I had already moved on to Vagrant which I use right now. Again, using vagrant effectively is another article in itself. In this post, let’s cover how you can set up your Windows machine for optimal development on Drupal or PHP in general. I’ll be covering Windows 10 but this could very well apply for other versions.
Most of this may not be that useful anymore once Windows 10 releases its anniversary update next week, which contains bash running on Windows! If you are using an older version of Windows, this could still be useful.
Terminal Emulator
As a developer, terminal is your best friend and the one that comes with Windows – well, you won’t like it for any serious development. Console2 is a very popular terminal emulator and I used it for a long time but the updates were slow and it seems to be out of development since 2014. I then switched to ConsoleZ, which is a fork of Console2, and loved it.
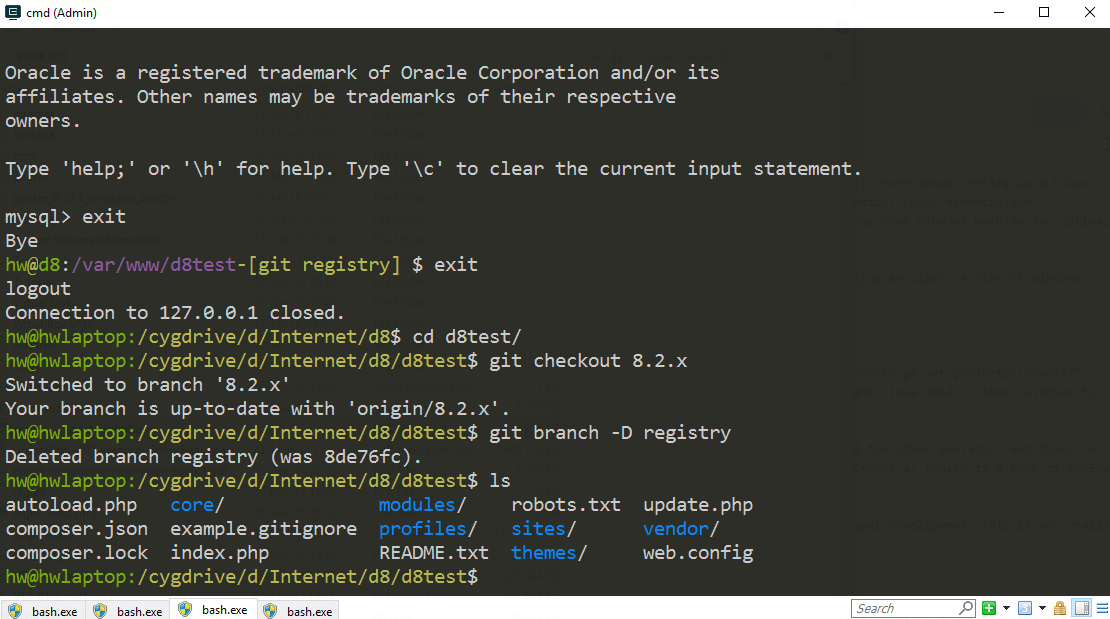
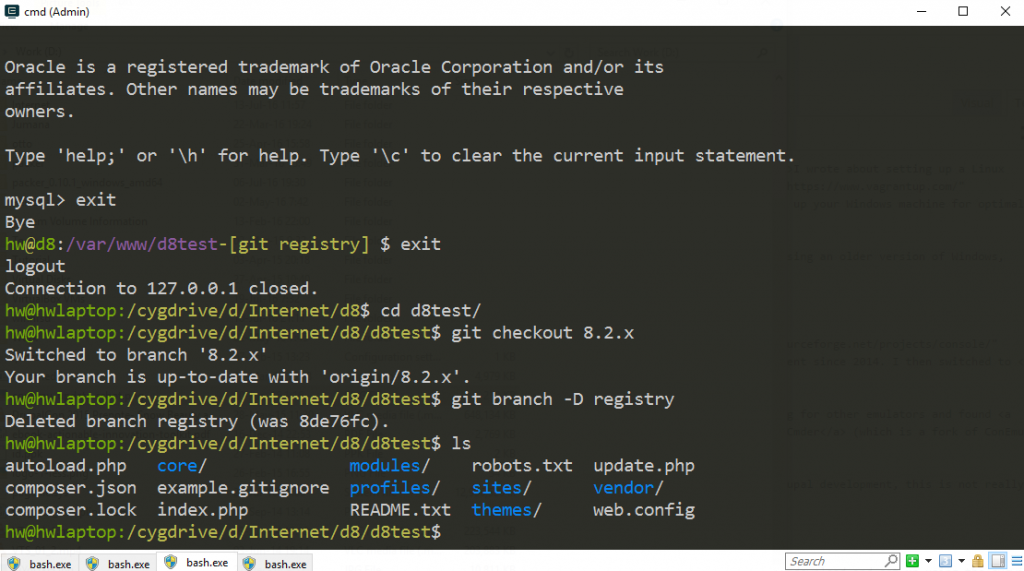
After a while, I found fish and ConsoleZ didn’t work very well with it. At that time, I started looking for other emulators and found ComEmu. Before I got a chance to try that though, I found Cmder (which is a fork of ConEmu) and started using that. As of this writing, this is my preferred terminal emulator.
Cmder is a very sleek looking functional terminal emulator and is highly customizable. It has common features like tabs, color schemes, macros, but also things like auto-update which is not that common to find in other emulators.
But a terminal emulator doesn’t do much by itself. It runs a shell and, on Windows, you either have the default command prompt or PowerShell. For PHP or Drupal development, this is not really what you want. You probably want to be close to Linux commands and feel. And so we have…
cygwin
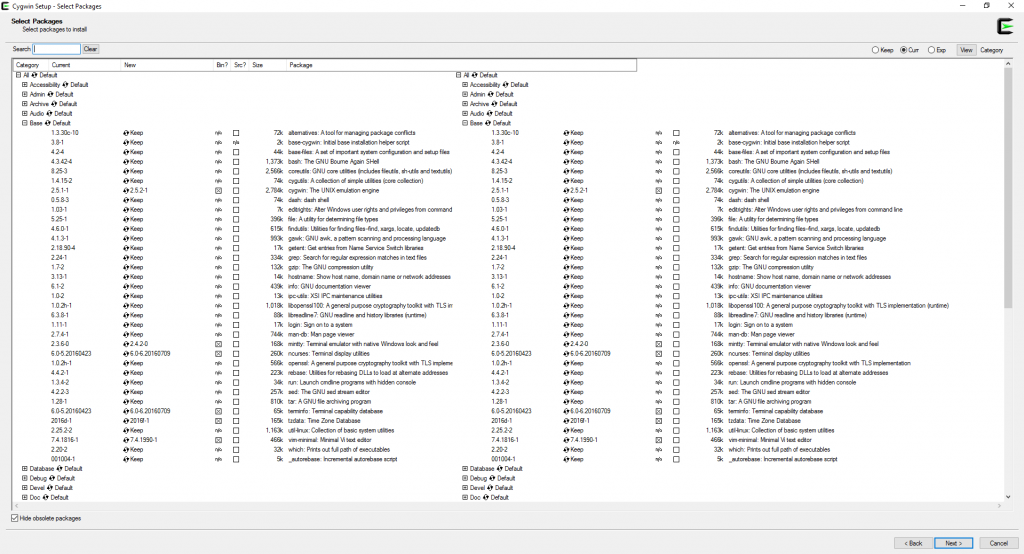
Cygwin is a long running project which provides a UNIX like environment on a Windows machine. It packages many UNIX tools as Windows binaries which you can download and set up using the cygwin installation. The cygwin setup lets you select tools (and there are a lot) to install.
To start, download the cygwin installation depending on the version of Windows you use. Chances are you use the 64-bit version and you should pick the 64-bit setup executable. The setup process will walk you through various steps:
- Choose a download source – Select ‘Install from Internet’.
- Select Root install directory – Select any directory where you want to install cygwin.
- Select Local Package directory – Select another directory where cygwin will download all packages. I keep this the same as my setup file.
- Select your Internet connection – Configure proxy if you use one.
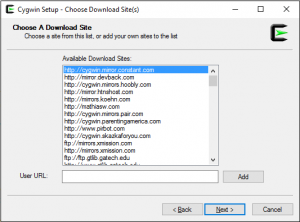
- Select mirrors – Select the mirrors closest to you, but also be aware that not all mirrors are always in sync. Some of them might have slightly older binaries, which should not be a huge problem most of the time.
Once you select the mirror, you can select all the tools that you want to run. Start with bash, common UNIX utilities like nano, vim, zip, unzip, git, wget, curl, and any others you want. I also install PHP and extensions like bz2, curl, exif, gd, iconv, intl, mbstring, mcrypt, mysql(i), pdo, phar, sqlite, and others. These let you run things like composer and drush for basic functionality and quick tests without starting a vagrant box or other VM.
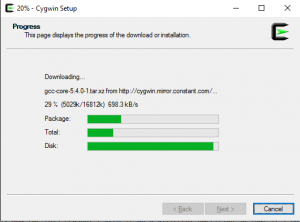
Don’t worry if you forget something. You can always run cygwin installable again and select more packages. Once you click Next, cygwin will download all the tools you select into its package directory. This directory will be used for future installations as well, and for this reason, I keep it on a different partition so that if I have to reinstall Windows, things are a little easier. It takes a while to download and install everything.
Apart from all the packages, cygwin also installs a terminal emulator which is pretty decent. It also creates a shortcut to start bash with this terminal emulator. While it is pretty good, we can do better with a more feature-rich terminal emulator like cmder.
cmder
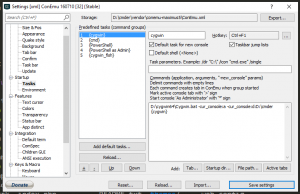
With cygwin setup, it’s time to configure cmder to run bash. You can configure cmder as per your preferences. All you need to do to get bash working is add a command as shown in the screenshot below. I add a shortcut to this command to Ctrl+F1 which I can use to start a new bash tab whenever I need. I don’t care about any other shells but you can keep or remove them as you see fit.
The command is: D:\cygwin64\Cygwin.bat -cur_console:a -cur_console:d:D:\cmder {cygwin}
I tried out other shells like zsh and fish but they did not work that well with Console2, ConsoleZ, or cmder. Specifically, arrow keys and tabs don’t work as expected. The fish shell works great in MinTTY which is part of cygwin but that is a very barebones terminal emulator. If you know of a terminal emulator that works with fish, do let me know!
Drupal
Now let’s talk about Drupal. I have covered setting up a VM or a vagrant machine in other posts. Here, we will just install composer and drush so that we can run common tasks outside a virtual machine if necessary.
Both composer and drush needs PHP, so if you have not installed it via cygwin or some other way, then do that first. If you have installed it through cygwin, the php executable should already be in PATH, else you have to make sure it is.
Installing composer is detailed out in its webpage and the instructions are simple to follow. We will use the command line instructions and not the Windows installer since we want to use this in cygwin anyway. Once composer is installed, move composer.phar to bin directory so that you can run it globally, add composer’s global vendor directory to your system path (or via bash’s profile). To verify it is installed, run composer --version. You should see an output similar to the following:
Composer version 1.2.0 2016-07-19 01:28:52
Once composer is installed, you can use it to install drush globally by using this command:
drush global require "drush/drush":"~8.0"
To be able to use drush from anywhere, remember to add composer’s global vendor directory to bin.
Of course, drush 8 does not support Drupal 6 but you are still not on that, are you? If you need support for Drupal 6, I’d suggest installing drush 5 using PEAR (which is not supported anymore) in the vagrant box running the Drupal 6 site.
That’s about it. This should get a decent and comfortable development environment started for you. Once the paths are set up correctly, you can use drush and composer to download projects and require dependencies anywhere you like. You can even run phpunit tests and phpcs checks without booting up a VM, and this runs very fast.
PhpStorm
I loved Visual Studio as an IDE and I couldn’t find anything else on which I was comfortable for a long time. I tried Netbeans, Eclipse, VsPhp, and text editors like Sublime and Atom. The IDE’s were heavy, took a long time to load, and didn’t work well anyway. The text editors, even after installing add-ons for debugging and project management, felt like it lacked something. Eventually, I found PhpStorm and fell in love with it. It is tuned for PHP development and has features to support Drupal and other frameworks. It does not take too long to load and it feels just right when working. The only caveat is that it’s not free but JetBrains offers open source licenses if you contribute to an open source project. A complete explanation on how you can configure PhpStorm for development on Windows needs its own post, which I might write sometime.
Other tips
- If you are working with Drupal core repository, or other large repositories, or just with projects containing lots of files, you might want to exclude
git.exeandVBoxHeadless.exefrom scans in your antivirus settings. Be careful with this, though. You should only be working with images and files from trusted origins to safely disable them. I have not faced any issues with these processes excluded from scans and this results in massive speed improvements in git operations and other operations within the vagrant machine. - While the default file sharing works fine and out of the box for Virtualbox, it is very slow. You would get the fastest speed with file sharing with rsync, but that will double the amount of space required by your files. NFS is a good compromise.
- Vagrant does not support NFS on Windows but you can install a vagrant plugin that does this (it uses a tool called winnfsd) to actually get this working. I’ll go into detail on this in another post but there are some details here.
Is there anything that I have missed? Please let me know via comments.
