Why compile PHP?
Yes, you can install PHP as simply by typing the following line on an Ubuntu machine, or any Debian based machine:
sudo apt-get install php5
But this is very limited if you want more control over the version of PHP you need. For instance, the php5 package on raring release channel (Ubuntu 13.04) currently has PHP 5.4.9. If you need PHP 5.5 for your project, or (more likely) you need PHP 5.3 or even PHP 5.2 for a legacy project, you can’t use the package. You can find other sources that contain the version you need but there is a chance it won’t be maintained anymore for the latest minor release or security fixes.
LMGTFY
Also, there are many guides out there to tackle this subject, so why one more? Well, I have found most of them to miss out on one thing or another and I had to follow multiple guides to go through the entire process. So, this post is as much for my own reference as for anyone else. What’s more?! The instructions on the post will allow you to install PHP with FPM, which few guides discuss.
Let’s Start
Ok, so I am going to use Apache for the web server. I don’t really care for the version and I am happy to install it as a package. You can simply do it via apt-get but lets see the screenshots from Synaptic Package Manager.
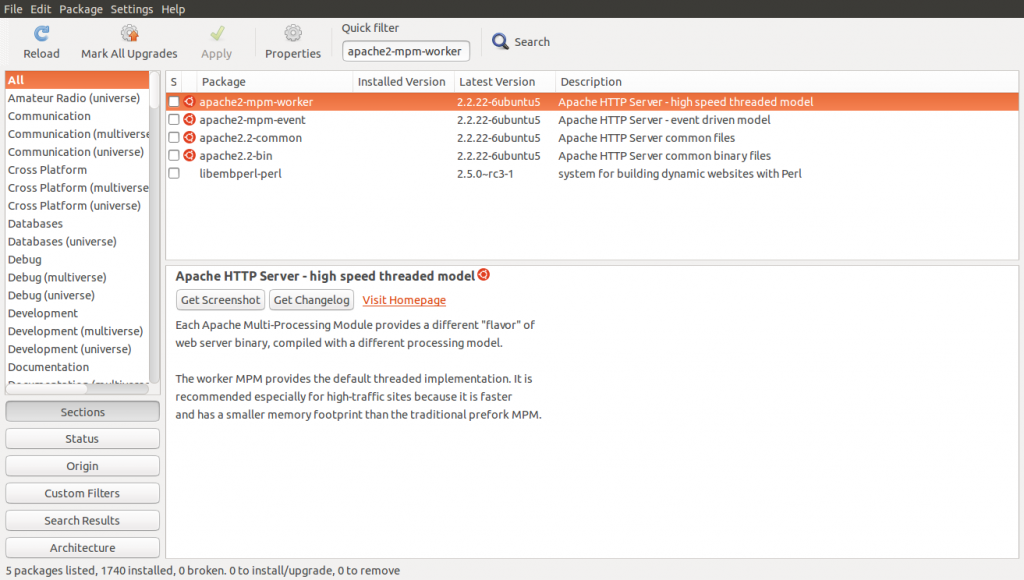
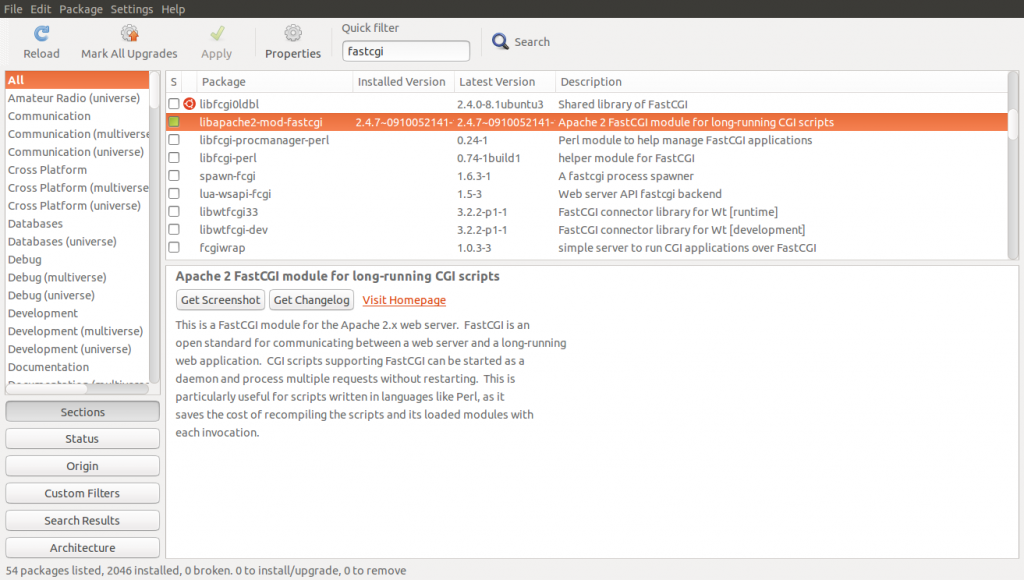
If you prefer command line (as I do), you can simply use:
sudo apt-get install apache2-mpm-worker libapache2-mod-fastcgi
Bonus: Install MySQL
Again, it is simple enough with command line but lets see some screenshots.
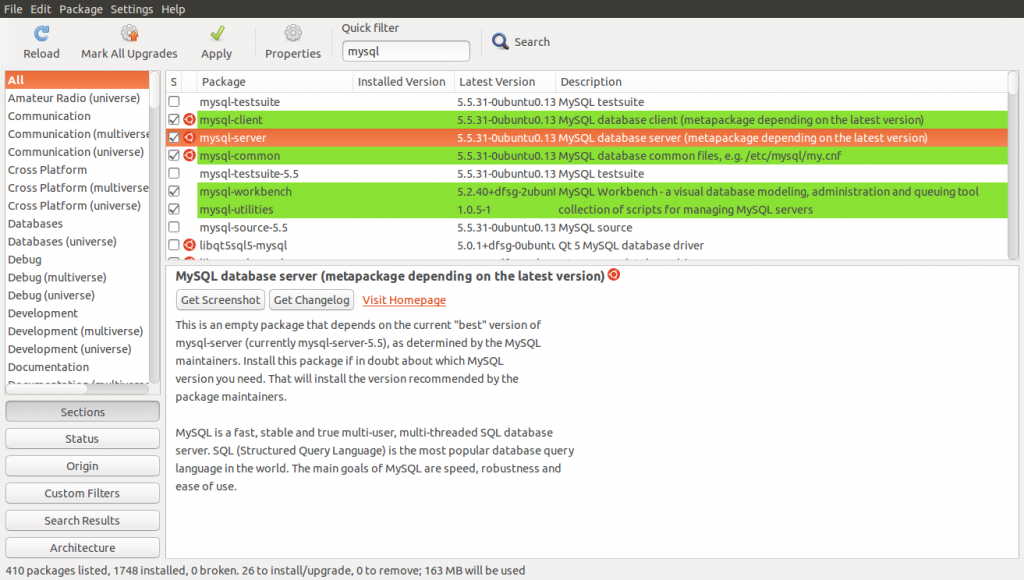
The great thing about Synaptic Package Manager is that it lets you see similar packages you might be interested in, and you can try them out if this is your development machine. I doubt if you are going to use GUI on a server anyway.
From command line,
sudo apt-get install mysql-server mysql-client
Compile PHP from source
So, lets get down to action. The trickiest thing for me to compile PHP was the configure string. I know it is just a matter of your preference but I couldn’t find any “stock” or sample strings to use. I ended up using the one from one one of my shared hosts and modifying from there. But we’ll get to that. First, you need to download PHP source.
Download PHP from PHP Downloads page. I prefer the .tar.bz2 format, no particular reason. Zip will work fine too. Click on the latest version (or the version you want to use) and you will go to a page where you select a mirror. Pick any and copy the link. You can directly download the file or wget it from command line.
mkdir -p ~/src

cd ~/src

wget http://in3.php.net/get/php-5.5.1.tar.bz2/from/in1.php.net/mirror -O php-5.5.1.tar.bz2
Extract the source using tar, like so:
tar -xvjf php-5.5.1.tar.bz2

cd php-5.5.1
Assuming you are in ~/src directory, your complete source path would ~/src/php-source. Of course, change the file names, versions, etc… to match your needs.
Dependencies
Now that we have the source, lets make sure we have all the dependencies needed to build PHP. Simply run these commands:
sudo apt-get install aptitude

sudo aptitude build-dep php5
Depending on the PHP version in the packages and the version you are trying to install, this would install most or all of the dependencies.
Configure
Now the configure string. Here’s the one I use. Feel free to remove stuff that you don’t need and add in stuff that you do.
./configure --prefix=${dst} \

--with-config-file-path=${dst} \

--with-config-file-scan-dir=${dst}/conf.d \

--without-t1lib \

--disable-short-tags \

--enable-pcntl \

--with-tsrm-pthreads \

--with-mysqli \

--with-mysql \

--with-pdo-mysql \

--with-zlib \

--enable-sysvmsg \

--enable-sysvsem \

--enable-sysvshm \

--enable-bcmath \

--with-bz2 \

--enable-calendar \

--enable-exif \

--enable-ftp \

--with-gd \

--with-jpeg-dir=/usr/lib \

--with-png-dir=/usr/lib \

--enable-gd-native-ttf \

--enable-gd-jis-conv \

--with-iconv-dir \

--with-gettext \

--with-imap \

--with-imap-ssl \

--with-openssl \

--enable-mbstring \

--with-mcrypt \

--with-mhash \

--with-pspell \

--enable-soap \

--enable-sockets \

--with-sqlite \

--enable-sqlite-utf8 \

--enable-wddx \

--with-xmlrpc \

--with-xsl \

--enable-zip \

--with-kerberos \

--with-tidy \

--with-curl \

--with-curlwrappers
I need the above mainly to support running CMS’s such as Drupal and WordPress. I am not saying all of them are necessary but most of them are. In any case, this is for my development machine and I do not mind an extra extension or two.
You might run into different kinds of errors about missing functions, files, etc… Most of them are problems with missing dependencies and installing the library solves the problem (you would have to repeat the configure). Luckily, sudo aptitude build-dep php5 would have installed most of them but here are some of the errors I still got and how I fixed them:
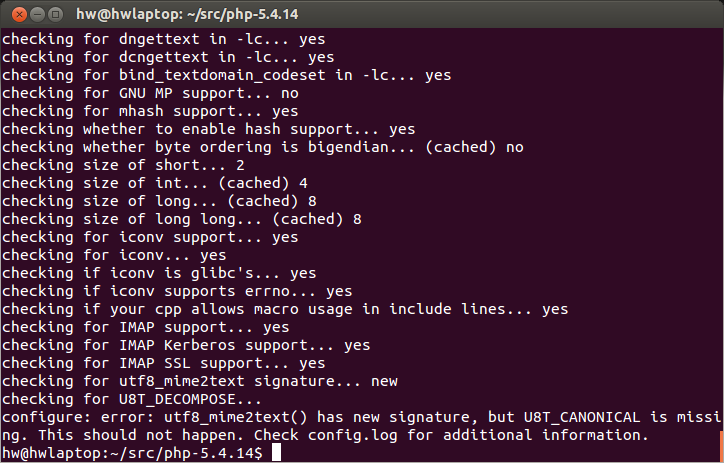
Problem: utf8_mime2text() has new signature, but U8T_CANONICAL is missing.
Solution:
sudo apt-get install openssl

sudo apt-get install courier-imap

sudo apt-get install libc-client2007e-dev
Problem: mcrypt.h not found. Please reinstall libmcrypt.
Solution:
sudo apt-get install libmcrypt-dev
Problem: configure: WARNING: unrecognized options: --with-sqlite, --enable-sqlite-utf8
Solution: This is just a warning and can be skipped. You would see this if you are compiling PHP 5.4+. Essentially, it says that if you want sqlite support, you have to enable it from PECL as the extensions have been deprecated.
Problem: configure: WARNING: unrecognized options: --with-curlwrappers
Solution: Similar to above, this is just a warning and can be skipped. You would see this if you are compiling PHP 5.5+. CURL Stream Wrappers have been moved to PECL as of PHP 5.5.
Make
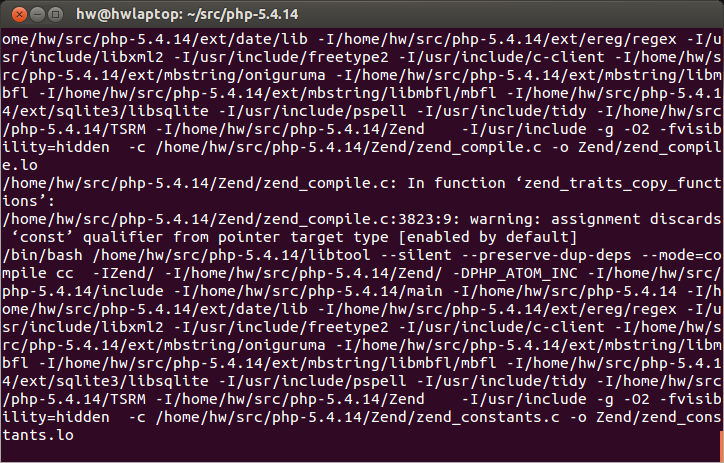
It is a big step to get ./configure to run successfully, as that is the most complicated part of the entire process. The next step is to build PHP.
make

make install
There is a chance you might get an error like this:
Installing PHP CLI binary: /usr/bin/

cp: cannot create regular file '/usr/bin/#INST@16394#': Permission denied
In that case, run:
sudo make install
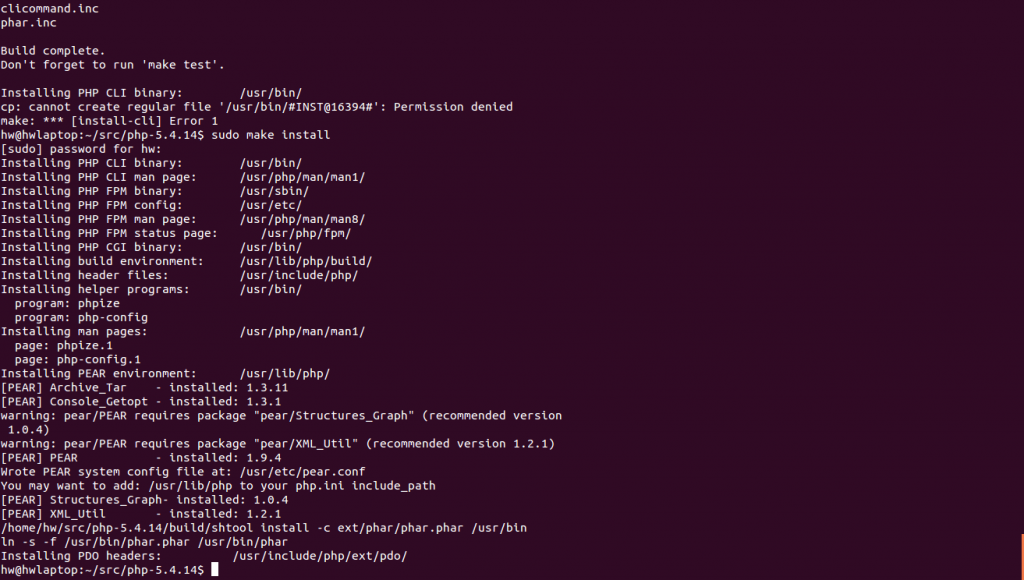
That’s it… run php -v to verify everything was successful. You should see something like:
PHP 5.4.14 (cli) (built: Apr 29 2013 01:00:53)

Copyright (c) 1997-2013 The PHP Group

Zend Engine v2.4.0, Copyright (c) 1998-2013 Zend Technologies

    with Xdebug v2.2.2, Copyright (c) 2002-2013, by Derick Rethans
PHP FPM
Lets get the FPM setup working. You would have noticed that we only did a plain installation of Apache with FastCGI (no PHP5 module). That is exactly what we want. If you had used apt-get to install php, you could have just:
sudo apt-get install php5-fpm
But we can’t do that. So, lets configure FPM manually. Its easy, really.
Apache side configuration
Most of the instructions in here are from this post, with a few tweaks. In summary, you need to enable fastcgi and a few other Apache modules. There is a good chance that they are already enabled, but lets go through this anyway:
sudo a2enmod fastcgi actions
Edit /etc/apache2/mods-enabled/fastcgi.conf and make sure it contains this. Again, feel free to change the paths as you see fit, except the /php5.fastcgi, as that is a virtual path.
<IfModule mod_fastcgi.c

  AddHandler fastcgi-script .fcgi

  #FastCgiWrapper /usr/lib/apache2/suexec

  #FastCgiIpcDir /var/lib/apache2/fastcgi
Alias /php5.fastcgi /var/lib/apache2/fastcgi/php5.fastcgi
AddHandler php-script .php
FastCGIExternalServer /var/lib/apache2/fastcgi/php5.fastcgi -socket /var/lib/apache2/fastcgi/php-fpm.sock -idle-timeout 300
Action php-script /php5.fastcgi virtual
# This part is not necessary to get it to work, but it stops anything else from being
# accessed from it by mistake or maliciously.
<Directory "/var/lib/apache2/fastcgi">
Order allow,deny
<Files "php5.fastcgi">
Order deny,allow
</Files>
</Directory>
</IfModule>
In short it tells Apache to send all PHP files off to the PHP-FPM process. Seeing as we are using FastCGIExternalServer, FastCGI will let PHP-FPM do it’s own process management. One of the differences from the original post in the above snippet is that this one uses /var/lib/apache2/fastcgi/php-fpm.sock for socket communication instead of /var/run/php-fpm.sock. I changed this to avoid setting any extra permissions on /var/run which is necessary for Apache to write to the socket at that location.
I have also increased the timeout to 300 seconds with -idle-timeout 300. This is necessary for some of the scripts I use. Without this, any script running longer than 30 seconds would fail with a Gateway error, and PHP’s set_time_limit() won’t help. You can change this as you see fit.
FPM side configuration
Now that we have Apache side of things configured, lets configure the FPM itself.
We just need to change one line to tell PHP-FPM to listen for incoming connections on the same socket as we used in the Apache configuration.
Our earlier compilation steps would place the PHP-FPM configuration file at /usr/etc/php-fpm.conf. Open it for editing and find the line:
listen = 127.0.0.1:9000
And replace with: listen = /var/lib/apache2/fastcgi/php-fpm.sock to match the line in our Apache Configuration.
We should also move the PID file used by PHP-FPM to an accessible location. Find the line:
;pid = run/php-fpm.pid
And replace with pid = /var/lib/apache2/fastcgi/php-fpm.pid. Of course, make sure you have the directory at /var/lib/apache2/fastcgi.
Lastly, if you want to run PHP-FPM process as a particular user/group, change that in this file. Find:
user = nobody

group = nobody
And change the values to your user and group. On a development machine, this can be your own user.
Running PHP-FPM
But we are not done yet (sigh!) We still need a init script for FPM. Fortunately, PHP provides one for you, which you should copy to your init directory and change permissions:
$ cp ~/src/php-5.5.1/sapi/fpm/init.d.php-fpm.in /etc/init.d/php-fpm

$ chmod 755 /etc/init.d/php-fpm
You will have to edit this file too and change the variables in it’s first few lines. If you have followed all steps above without major changes, it can just be:
prefix=

exec_prefix=
php_fpm_BIN=/usr/sbin/php-fpm
php_fpm_CONF=/usr/etc/php-fpm.conf
php_fpm_PID=/var/lib/apache2/fastcgi/php-fpm.pid
Note that this basically sets the path for FPM binary, configuration file and it’s PID file. Change as you see fit. Of course, make sure the old lines setting these variables are removed.
Autostart
We are almost done. We want to start PHP-FPM at system boot. We just use update-rc.d.
sudo update-rc.d php-fpm defaults
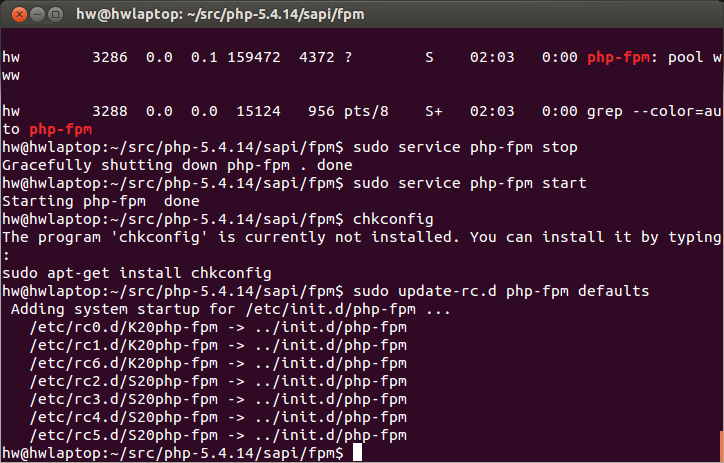
Done!
We are finally done. Restart Apache and PHP-FPM:
sudo service apache2 restart && sudo service php-fpm restart
I have skipped Apache configuration basics here, like setting DocumentRoot, AllowOverride, rewrites, etc… The post is long enough as it is. That could be the subject of another post, perhaps.
I hope you found this useful. Let me know what you thought of this and how well it worked for you.
